Are you a yogurt lover? Do you want to learn how to make your own delicious and healthy yogurt at home? Look no further! In this article, we'll show you how to make easy and convenient homemade yogurt in an instant pot using simple ingredients and minimal effort.
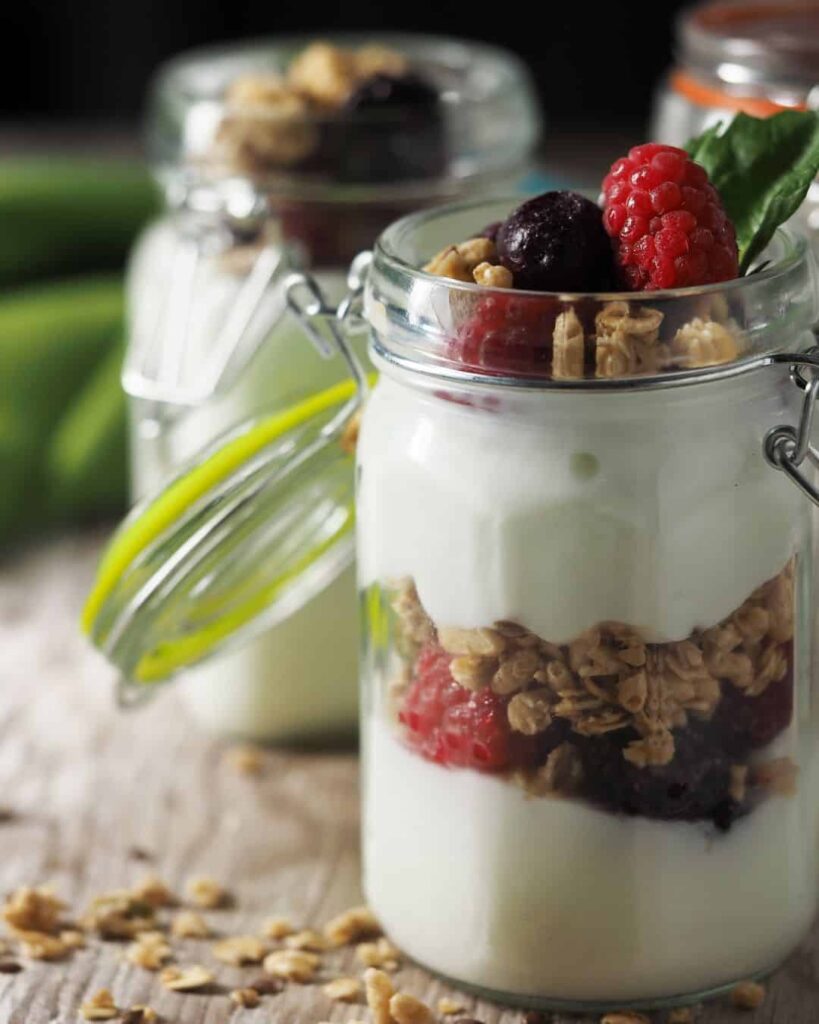
Fun Fact : Origin of yogurt
Yogurt has been around for thousands of years, but its exact origin is a bit of a mystery. People in the Middle East and Central Asia first discovered yogurt when they stored animal milk like cow, sheep, or goat milk in containers made from animal stomachs. The natural bacteria inside the container fermented the milk over time, resulting in a thick, tangy substance that stayed fresh for longer.
As time went on, people figured out how to replicate this process by using a bit of previously fermented milk as a starter culture and adding it to fresh milk - now we have yogurt! So you can see why yogurt is such an important part of many cultures around the world.
A case for making yogurt at home in the instant pot
- It is a foolproof method because you can get the perfect yogurt every time!
- Making yogurt in an Instant Pot is easy - just press the button! Not only does it incubate the yogurt in the perfect temperature, but it also does it all at the touch of a button.
- Making homemade yogurt in an Instant Pot is an incredibly convenient option because it eliminates the need to heat and incubate the milk in two different devices. Simply pour the milk into your Instant Pot, press a few buttons, and you are ready to go!
- Making yogurt in an Instant Pot gives you tremendous control over the fermentation process, allowing you to customize your yogurt's flavor and texture. The time you set for incubation is crucial in determining how sour or tangy your yogurt will be - the longer it ferments, the tangier it gets.
Benefits of making homemade yogurt an Instant Pot
There are many benefits to making yogurt from scratch. Here are few reason that I can think of at the top of my head. It is
- Easy and Convenient: Making yogurt in an Instant Pot is a simple and hassle-free process that requires just a few ingredients and minimal equipment.
- Cost-effective: Homemade yogurt is much more cost-effective than buying it from the store, and you can customize the recipe to suit your preferences
- Easily customizable: Making yogurt at home allows you to customize the flavor and texture to your liking. You can add fruits, honey, nuts, or any other ingredients you prefer.
- Health Benefits: Homemade yogurt is packed with healthy bacteria and probiotics that can help to improve your gut health and boost your immune system.
- No Preservatives or Additives: Homemade yogurt does not contain any preservatives, additives, or artificial flavors, making it a healthier choice than store-bought yogurt. Store-bought yogurt often contains preservatives like potassium sorbate, sodium benzoate, and carrageenan that are added to prevent the growth of bacteria. Although usually safe in small amounts, these additives might not be suitable for everyone and might have long-term health effects.
What is the best starter for making yogurt?
The starter for homemade yogurt is a culture of live bacteria that is added to the milk to initiate the fermentation process. The most common yogurt starters include:
- Commercial store-bought yogurt: This is the easiest and most convenient starter for making yogurt at home. Simply use a small amount (about 2-3 tablespoons per quart of milk) of plain, unflavored yogurt with live and active cultures as your starter.
- Freeze-dried yogurt culture: These are packets of powdered bacteria that can be purchased online or at specialty stores. Simply mix the powder with the milk and incubate according to the instructions on the package. I have had best results with this starter.
- Fresh yogurt culture: This is a culture that you can maintain and use indefinitely by adding a small amount of the previous batch of yogurt to the next batch. You can continue to use this until all the bacteria in the culture has exhausted. You can recognize this when the fermented yogurt seems to be runny all of a sudden despite taking all measures to ensure proper fermentation.
Step by step instructions
The basic process for making yogurt in an Instant Pot involves heating the milk, cooling it down, adding the starter culture, and letting it incubate. Here's a step-by-step overview of the process:
Heat the Milk: Pour the milk into the Instant Pot and use the "saute" function to heat it to 180°F. This will help to kill off any unwanted bacteria and create the right environment for the starter culture to grow.
Cool the Milk: Once the milk has reached 180°F, turn off the Instant Pot and let it cool down to 110°F. This temperature is ideal for adding the starter culture and promoting the growth of healthy bacteria.
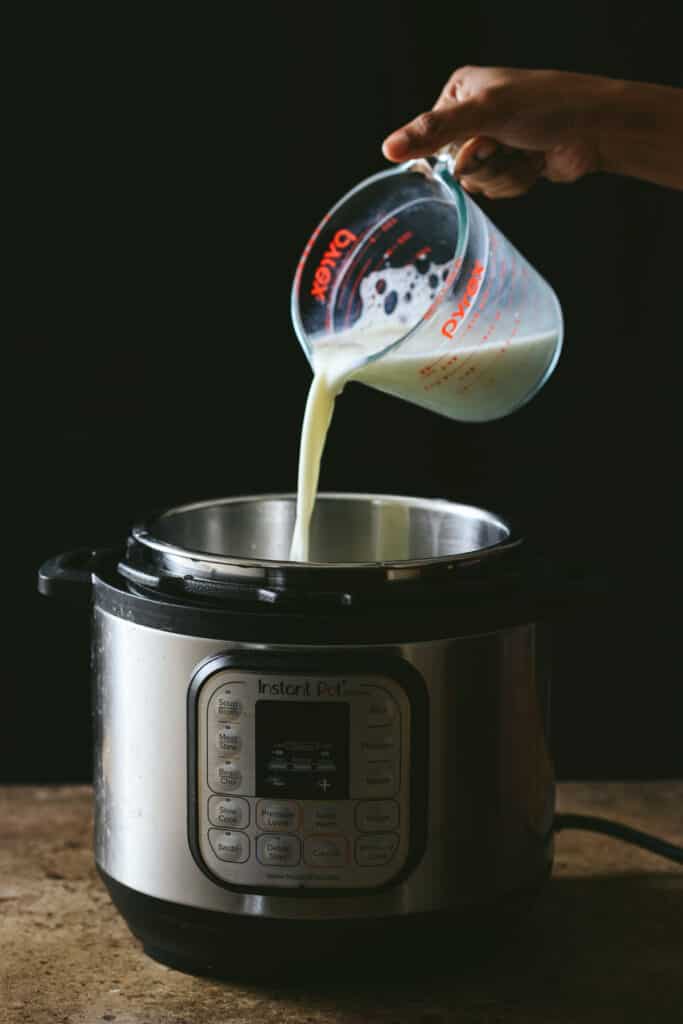
Add the Starter Culture: Add a few tablespoons of live yogurt culture to the warm milk and whisk gently to combine. The starter culture will begin to ferment the milk and create a thick, creamy yogurt.
Incubate the Yogurt: Cover the Instant Pot with a lid and wrap it in a towel for insulation. Set the Instant Pot to the "yogurt" function and let it incubate for 6-12 hours, depending on how thick and tangy you like your yogurt.
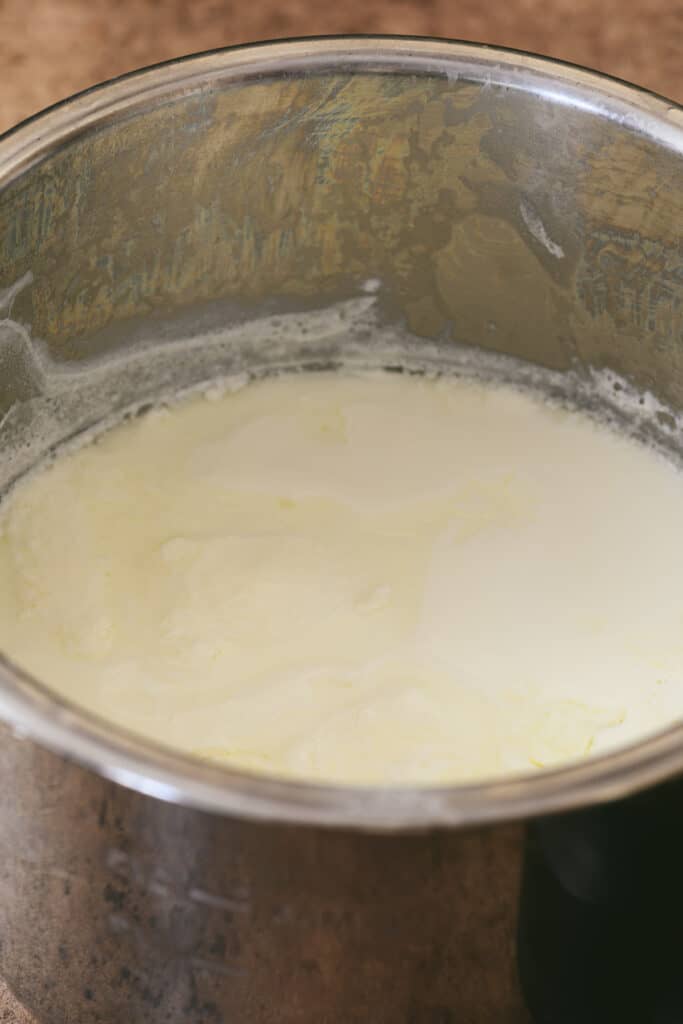
Refrigerate the Yogurt: Once the yogurt has finished incubating, transfer it to a container and refrigerate it for at least 2 hours to chill and set.
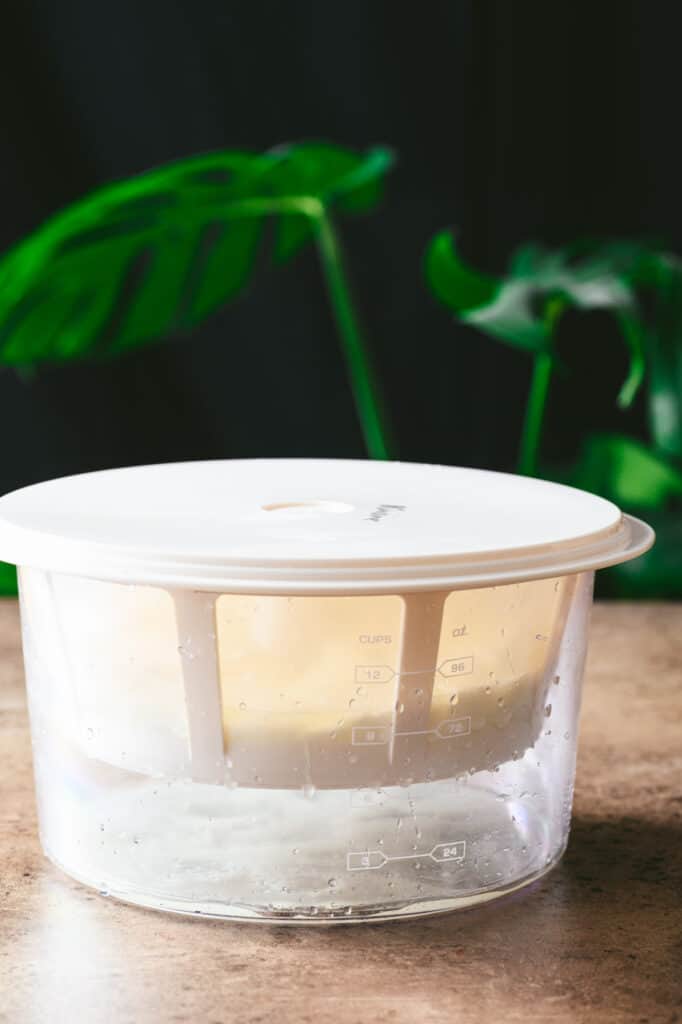
Strain the yogurt: with the help of cheese cloth or with a dedicated yogurt strainer that you can get these days on amazon.
How to make Lactose free yogurt
Incubating yogurt for a longer period of time can help to reduce the amount of lactose present, making it more suitable for those who are lactose intolerant. Lactose is a type of sugar typically found in milk and other dairy products, including yogurt, which some people have difficulty digesting. When this occurs, it can result in gastrointestinal issues like bloating, gas and diarrhea.
The process of creating yogurt is one that combines the use of live cultures, such as Lactobacillus bulgaricus and Streptococcus thermophilus, with milk. Through the action of these bacteria, the sugars in the milk are fermented into lactic acid, which gives yogurt its distinctive tangy flavor and thick texture.
So essentially by creating a fermentation environment for the probiotic cultures, lactose is broken down which can reduce the amount of natural sugars present in the yogurt. The longer the yogurt is incubated, the more time the bacteria have to consume the lactose and produce a delicious, creamy probiotic yogurt.
Hence, the one of the cooking classes that I took a long time ago mentioned an incubation time of more than 12 hours to reduce the lactose content. However, there are also methods to make
How long does it take to ferment the yogurt in the instant pot?
You can adjust the fermentation time depending on how thick and tangy you want your end product to be. Generally, it takes anywhere from 6-12 hours for the yogurt to be ready. The longer the fermentation time, the thicker and tangier the yogurt will be. I personally like my yogurt to ferment for 8 hours for the optimal tang.
After this period, check to see if it's reached your desired taste and texture. If it's not quite there, let it ferment for a few more hours before giving it another check. To get the perfect yogurt each time, experiment with different fermentation times until you find the one that works for you!
Storage instructions:
To store homemade yogurt in the fridge, transfer it to a clean, airtight container and seal tightly. It can be stored for up to 2 weeks in the fridge. Note that the longer it sits in the fridge, the tangier it will become. If you prefer a milder flavor, consume it within the first week.
How to make yogurt without digital thermometer?
In a large pot, heat the milk over medium-high heat until it just begins to simmer. Once small bubbles form around the edges and steam rises from the surface of the milk, remove the pot from the heat.
Let it cool until you can comfortably hold your finger in it for a few seconds (around 110-115°F or 43-46°C). If you don't have a thermometer, use your finger as a guide to ensure the milk isn't too hot. The milk should feel warm but not hot. Once the temperature is right, whisk in the yogurt starter until fully combined. Incubate and ferment.
Making homemade yogurt in your Instant Pot can be a bit of a challenge without a thermometer, but this doesn't mean it's impossible! As long as the milk is warm enough to activate the starter cultures and not too hot that it kills them, you should have no trouble concocting a creamy, probiotic-rich yogurt with live cultures.
The different ways you can use homemade yogurt:
- Eat it plain: Homemade yogurt is delicious on its own. I love eating it plain or with a drizzle of honey and homemade granola for added sweetness.
- Use it as a substitute for sour cream: Yogurt if fermented for more than 8 hours turns sour and tangy. If you're out of sour cream, use homemade yogurt instead. It's a great substitute for sour cream in recipes like dips and dressings.
- Make smoothies: Yogurt is a delicious and nutritious snack that makes a great base for smoothies. Simply blend your favorite fruits with some yogurt and a touch of honey for an easy, healthy treat. Here is a strawberry rose lassi recipe made with homemade yogurt.
- Use it in marinades: Yogurt-based marinades are a great way to add flavor and tenderize meat. By combining plain yogurt with your favorite herbs and spices, you can create a savory, flavorful marinade that will infuse your meat with flavor while also helping to break down the fibers to make it more tender. The yogurt helps to lock in the moisture and add a rich creaminess to the finished dish.
- Make homemade frozen yogurt: Freeze your homemade yogurt in an ice cream maker for a healthy and refreshing treat. I love this mango lassi frozen yogurt from Cookie and Kate.
- Make dips and dressings: Yogurt can be used to make creamy dips and dressings. Mix it with herbs, garlic, and lemon juice for a delicious and healthy dip. Here is a recipe for a yogurt mint dip.
Trouble Shooting
What to do when my yogurt is runny?
- Strain the yogurt: Place a cheesecloth or a coffee filter over a colander and pour the yogurt into it. Let the yogurt strain for a few hours, or even overnight, in the fridge. The longer you strain it, the thicker it will become. This will remove some of the whey from the yogurt, which is what causes it to be runny.
- Use different milk: If you are consistently getting runny yogurt, you may want to try using a different type of milk. Whole milk is the best option for thicker yogurt. You can also try adding ¼ cup non-fat dry powdered milk to your milk before heating it, as this can help thicken the yogurt. You may replace ½ cup of milk with half and half.
- Use a different starter: If you are using a starter that is not producing thick yogurt, you may want to try using a different strain of bacteria or a different brand of starter. It is also possible that if you are using your yogurt from your previous batches, the live cultures aka the probiotic bacteria might have become exhausted and it may be time to start with a new batch of live cultures.
- Check the temperature: Make sure you are fermenting the yogurt at the correct temperature. If the temperature is too low, the yogurt may not thicken properly. Also make sure to stir in the cultures at 110 F and not when it is too hot as the high temperatures may destroy the live bacteria.
- Be patient: Sometimes, yogurt just needs more time to set. If your yogurt is runny after the recommended fermentation time, try giving it a few more hours to thicken up.
Here is an expert blog post on how to thicken homemade yogurt.
FAQs
If you want to make the best homemade yogurt, avoid ultra-pasteurized or UHT (ultra-high temperature) milk as the proteins and enzymes needed for fermentation has been damaged during the processing of pasteurization.
When you're making homemade yogurt, it's best to use fresh, unprocessed milk that hasn't been ultra-pasteurized or treated with ultra-high temperatures.
The next best choice is whole milk since they contain enough fat to make your yogurt creamy and delicious. 2% also works great but the resulting yogurt is not as creamy as the whole milk yogurt.
Making yogurt with plant-based milks like soy, almond, coconut, or cashew is totally doable - just know that the process may be slightly different than with dairy milk. Plant-based milks don't contain the same proteins as dairy milk which are necessary for thickening and setting your yogurt. So keep this in mind when you venture into the world of plant-based yogurts!


How to Make Homemade Yogurt in an Instant Pot: A Step-by-Step Guide
Description
Are you a yogurt lover? Do you want to learn how to make your own delicious and healthy yogurt at home? Look no further! In this article, we'll show you how to make easy and convenient homemade yogurt in an instant pot using simple ingredients and minimal effort.
Ingredients
- 4 cups of milk (whole, low-fat, or skim)
- ¼ cup of plain yogurt (with active cultures)
Instructions
Instructions:
-
Heat the milk in a saucepan over medium heat until it reaches 180°F (82°C). Stir the milk occasionally to prevent scorching.
-
Once the milk reaches 180°F (82°C), remove the saucepan from the heat and let it cool down to 110°F (43°C).
-
Add the ¼ cup of plain yogurt to the cooled milk and whisk well to combine.
-
Pour the mixture into a clean, sterilized glass jar or container with a tight-fitting lid.
-
Place the jar in a warm place (such as a warm oven or a dehydrator) and let it sit undisturbed for 6-12 hours, or until the yogurt has thickened to your desired consistency.
-
Once the yogurt has set, transfer the jar to the refrigerator and chill for at least 2 hours before serving.
Notes
Tips for Success
- Be sure to use a high-quality live yogurt culture for the best results.
- Avoid using ultra-pasteurized milk, as it may not set properly.
- Don't stir or move the yogurt during incubation, as this can affect the final texture.
- You can adjust the incubation time to your liking. A longer incubation time will result in a tangier and thicker yogurt.



Comments
No Comments